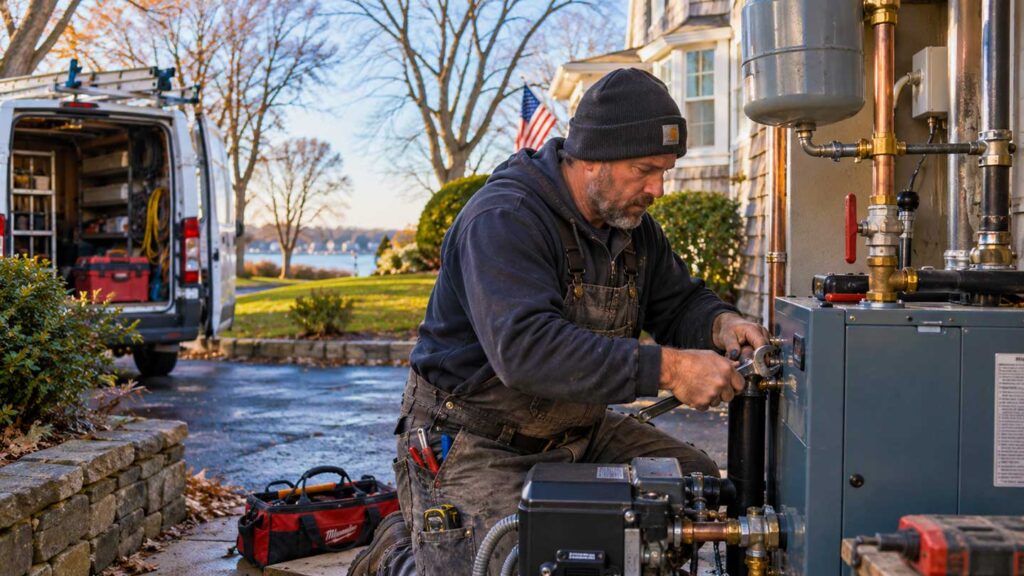
You finish good work every week, and almost none of it helps you land the next project.
The patio goes in, the customer pays, and your crew moves on to the next address. The photos stay on your phone, or they go up on Instagram with a one-line caption.
Meanwhile, your next customer is searching Google for the exact work you just finished. Nothing from last week’s job shows up for them.
Every project you finish already has what you need to fix that. You need a system that puts it to use.
Stop Handling Every Marketing Channel as a Separate Job
Somebody sits down to update your Google Business Profile and has to come up with something to post. Two days later, somebody needs a post for Instagram.
The next week, you decide the website needs a new project on it. And the review you meant to ask for never gets asked.
Each of those gets handled on its own, from scratch, by whoever has a minute. That’s four chores you’re doing where one would cover it.
Start with the finished job instead. One job goes into the system, and it feeds every place your next customer looks.
The Local SEO Content Formula Behind the System

This is the Local SEO Content Formula: Customer + town + service + photos + local search term = project page + case study + Google Business Profile post + social posts + review request
You get all five of the inputs the day you finish a project. Say you install a paver patio for a homeowner in Huntington. Your five inputs are:
- Customer: the homeowner
- Town: Huntington
- Service: paver patio installation
- Photos: one wide shot of the finished patio and a few close-ups
- Local search term: paver patio Huntington, which is what the next customer types into Google
And that one job gives you:
- A project page on your website, titled with the service and the town
- A short case study on that page covering what the customer needed and what you built
- Photos named and described to give Google more context about what they show and where the job was done
- A Google Business Profile post with the photos and a link to the project page
- Facebook and Instagram posts using the same photos
- A review request texted to the homeowner the day you finish
- A link from the project page to your main patio service page
Run that after every project. Every job adds a post and a review request, and your best jobs add a page someone searching for your work can find.
This is the kind of system I build as part of my Long Island SEO services, turning the jobs you’re already finishing into pages and posts that help customers find you.
The 6-Step Local SEO Checklist After Every Project
Step 1: Capture the Job Details Before Your Team Moves on
Three months from now, nobody will remember which town the project was in, and the photos will be buried on somebody’s phone. So record the details the day you finish.
You only need a few things:
- Customer or project name
- Town
- Service you performed
- A one-line description of the job
- Date completed
- Whether the customer is okay with you posting photos of their property
- Whether you’ve sent the review request yet
Keep it in a simple form, a spreadsheet or your project software. What matters is that you fill in the same fields after every project.
Then take the photos before you pack up. Get one wide shot of the whole project and two or three close-ups of the details. Your phone camera is enough, and if you took a before shot on day one, add it to the set.
Step 2: Rename the Photos
Your phone saves photos with names like IMG_4471.jpg. Rename each one with the service and the town, like paver-patio-huntington-1.jpg.
Google’s image guidelines recommend short, descriptive file names. Keep each job’s photos in one folder named by month, service and town, like 2026-09-paver-patio-huntington.
Step 3: Build the Project Page and Case Study
Not every project needs its own page. Give a project a page when it’s a service you want more of, in a town where you want more work, with photos worth showing. Smaller project still get the Business Profile post, the social posts and the review request.
If your site runs on WordPress, add a new post in a Projects category. On Wix or Squarespace, use a blog post.
Use a descriptive title that includes the service and the town, like Paver Patio Installation in Huntington.
Write the case study in three short parts. Say what the customer needed, what you built, and how it came out.
Add your photos. In each photo’s alt text field, describe what’s in it, like “gray paver patio with a seat wall behind a house in Huntington.”
End the page with a link to your main service page, using a plain sentence like “Learn more about paver patio installation.”
Step 4: Post the Project to Your Google Business Profile
Go to your Business Profile on Google. You’ll find it by searching your business name on Google while you’re signed in to the account that manages it. Select Posts, then Add post, and choose Update. Google’s instructions show the same screens.
Add two or three photos and two or three sentences naming the service and the town. For example:
We just finished this paver patio for a homeowner in Huntington. Take a look at the full project, and give us a call if you’re planning a patio of your own.
Set the button to link to your project page, or to your patio service page if the job didn’t get its own page.
If Add post doesn’t appear on your profile, add the photos under Photos instead.
Step 5: Text the Review Link
In your Business Profile, select Read reviews, then Get more reviews, then Copy. Google’s help page shows the same steps.
Text that link to your customer the day you finish, along with a short thank-you.
Step 6: Post the Same Photos to Facebook and Instagram
Use your photos and a couple of sentences from the project page. You already wrote them in Step 3.
Put One Person in Charge of the Checklist
Write the six steps on one sheet and give it to one person on your team. They run it when the project closes out, at the same time they send the invoice.
Once the steps are the same every time, you can automate the writing. A simple workflow can take your crew’s photos and notes and draft the project page, the Business Profile post and the social captions.
Your person reviews the drafts and publishes them. That’s the repeat work you take off your plate.
What a Year of This Builds
Social media posts scroll away in a day or two. Your website is where your best work stays put.
After a year of this, your site has a page for each project you were proud of, in the services and towns you want more of. Your service page tells a homeowner what you do, and your project pages show them work you’ve already done near them.
Your Business Profile shows work from this month. Your reviews describe the jobs you actually did.
One page won’t change much on its own. A year of them gives the next customer a lot more ways to find you and a lot more proof that you do the work. It takes discipline to get there, and some weeks you’ll miss a project.
The pages you publish in your slow months are already on your site when the busy season starts. That’s the same reason to build your local search visibility before demand hits.
Start With Your Last 10 Projects
Pull up the last 10 projects your company finished and check each one against three questions:
- Does it have good photos?
- Was it a service you want more calls for?
- Was it in a town where you want more work?
Every project that checks all three is a project page, a Business Profile post and a review request you could have up this week.
Get This System Built for Your Business
I build this lead generation system for Long Island businesses that do visual work. That includes the project pages, the Business Profile setup, the review requests and the workflow that drafts everything after each project.
You keep finishing projects. Each one then helps you land the next one.